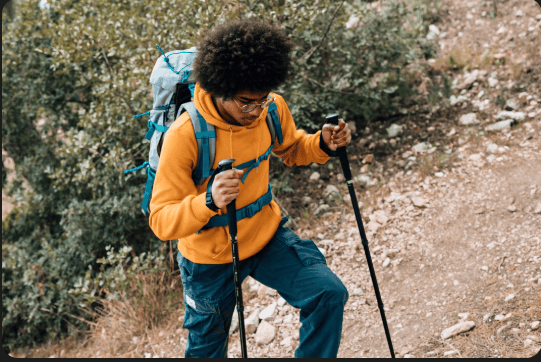

Learning how to train for hiking is the single best investment you can make, turning you from a casual walker into a resilient mountain machine.
Have you ever hit a stunning section of trail, looked up at a steep climb, and felt your legs turn instantly to jelly? Or maybe you’ve finished a long day hike and realized that the joy of the scenery was slightly overshadowed by the sheer exhaustion and knee pain that followed? We’ve all been there. The good news is that the secret to truly enjoying every mile, from the first step to the summit view, isn’t just buying better hiking gear, it’s preparing your body.
The most effective way to guarantee a comfortable, safe, and exhilarating adventure on the trail is by having a structured and focused training plan. This comprehensive guide, written with a warm, expert touch, will lay out the precise pillars of fitness you need to build, ensuring you step onto the trail with complete confidence.
How To Prepare For A Hike (The “Why”)
The feeling of standing on a summit, miles away from the noise of everyday life, is unparalleled. That crisp air, the endless view, it’s pure magic. But that magic doesn’t come free; it requires effort. A hike, especially one with significant elevation gain or a heavy pack, is a full body sport. It demands sustained output from your cardiovascular system, repetitive single leg strength, and rock solid stability to navigate uneven terrain.
If you don’t properly prepare, you risk two things: injury (which cuts your adventure short) and pain (which robs you of your enjoyment).
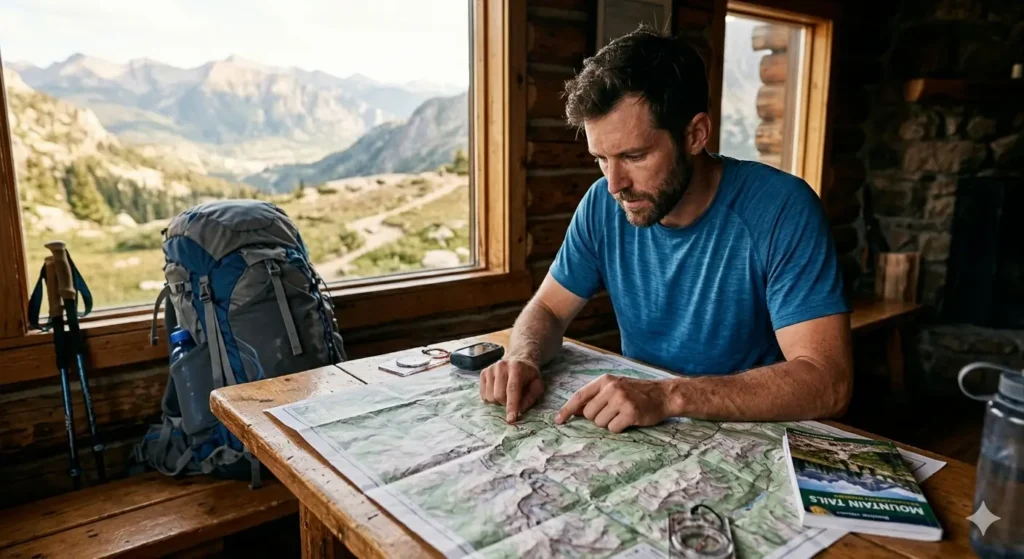
Our goal here isn’t to turn you into a marathon runner; it’s to make you trail ready. We are going to build your hiking fitness from the ground up, focusing on the specific demands of the sport. We will break down how to train for hiking into three essential, complementary areas: building your engine (cardio), strengthening your chassis (muscles), and fine tuning your suspension (mobility and balance). Let’s dive into the core components that will guarantee you spend more time looking at the views and less time staring at your boots.
Core Components of Hiking Fitness (The “What”)
Think of your body as a high performance vehicle ready for an off road journey. You need a powerful engine for sustained speed, a strong frame to carry the load, and a reliable suspension system to handle the bumps. For hiking, these three components translate directly into your training plan.
Cardiovascular Endurance (The Engine)
This is the ability of your heart and lungs to supply oxygen to your working muscles over a long period. In hiking terms, this means being able to sustain a solid pace for hours without getting winded every time the trail points uphill.
- Goal: Maintain a comfortable, consistent effort during long efforts, particularly on inclines.
- The Key: Steady State Cardio. The best way to build this engine is through activities where you can maintain a moderate intensity for an extended time. You should be able to hold a conversation, though perhaps with a bit of effort, this is often called Zone 2 training.
- Brisk Walking and Rucking: Simply put, nothing beats walking. Start with brisk, flat walks and gradually increase your distance and the time spent moving. The next level is rucking, or hiking with weight. Load up your backpack with water bottles or books and hit the pavement or local trails. This perfectly simulates the effort of a real hike and is essential for building robust hiking endurance.
- Cross Training: To avoid overuse injuries and to make training more fun, mix it up. Cycling, swimming, or using the elliptical machine are fantastic ways to build aerobic capacity without the relentless pounding on your joints. This cross training for hiking is a low impact way to get in a high quality workout.
- Hill Repeats and Stair Climbing: Climbing up hills or stairs is the closest you can get to replicating the demands of a mountain trail. Add this one or two days a week to build that climbing power.
Strength Training (The Chassis)
Hiking isn’t just cardio; it’s a profound display of lower body strength and core stability. You need powerful muscles to propel you up a slope, absorb the impact of a downhill trek, and stabilize your body when you step over a root while carrying a pack.
- Goal: Build strong, resilient muscles to carry weight, prevent knee and ankle injuries, and maintain energy on long descents.
- Focus Areas: Your focus must be on the specific muscle groups that handle the brunt of the work on the trail.
| Muscle Group | Why It Matters for Hiking | Essential Training Exercises |
|---|---|---|
| Quads (Front of Thigh) | Powering uphill and controlling the body during the demanding downhill steps (eccentric strength). | Step Ups (use a bench or box and add a pack), Bulgarian Split Squats (great for single leg strength and balance). |
| Glutes (Hips/Rear) | The body’s largest and strongest muscle, essential for explosive power and protecting the lower back from strain when carrying a pack. | Glute Bridges (especially single leg variations), Deadlifts (Romanian or trap bar versions). |
| Calves (Lower Leg) | Critical for push off, navigating uneven terrain, and preventing common foot and ankle injuries. | Calf Raises (on a step with heels hanging off the edge to increase range of motion). |
| Core (Abs/Lower Back) | Maintains posture when carrying a heavy pack and provides the stability needed for navigating tricky, off balance terrain. | Planks (all variations), Farmer’s Carries (walk while holding heavy weights to simulate pack carrying and improve grip). |
The single most important principle here is unilateral training, or exercises that work one leg at a time (like lunges and step ups). A hike is essentially thousands of single leg movements, so training each leg individually drastically improves your balance and stability.
Mobility and Stability (The Suspension)
This is the often forgotten, but critically important, third pillar. Mobility is your joint’s range of motion, and stability is your body’s ability to control that motion. Think of your ankles and knees, they need to be strong enough to withstand the load and flexible enough to adapt quickly when you step on a loose rock.
- Goal: Reduce the risk of sprains and strains, increase your range of motion, and help you recover faster.
Focus Drills:
- Ankle and Hip Mobility: Poor hip mobility often leads to knee pain, and weak ankles are a recipe for a sprain. Incorporate Hip Clocks (standing on one leg and tapping the other in front, side, and back) and Ankle Rolls into your warm ups.
- Yoga and Pilates: These activities are phenomenal for building deep core stability, flexibility, and mind body awareness. Even 15 minutes a few times a week can make a huge difference in your comfort on the trail.
How to Train for Hiking – The Progressive Hiking Training Plan (“The How”)
The secret to a successful training regimen is progressive overload, which is just a fancy way of saying you should gradually increase the intensity, duration, or weight over time. You wouldn’t try to play a symphony after only two days of practice, and you shouldn’t attempt a challenging trail without a thoughtful ramp up.
This sample plan is designed to be flexible and adaptable, targeting a moderate to strenuous hike approximately four to six weeks out.
Sample 4-Week Hiking Training Plan
This hiking exercise schedule outlines a general progression. Always listen to your body and adjust intensity or take an extra rest day as needed.
| Week | Phase Focus | Key Cardio Goal | Strength/Stability Goal | Integration & Specificity |
|---|---|---|---|---|
| Week 1 | Foundation | Three sessions of 30–45 mins of brisk walking/cycling. Use a low to moderate effort (can easily chat). | Two full body strength days (bodyweight squats, lunges, planks). Focus on perfect form. | Introduce 15 min mobility/stretching routine daily. Begin breaking in boots on short walks. |
| Week 2 | Building Blocks | Increase two cardio sessions to 60 mins. Introduce Incline Walking (treadmill or hills) for 20 minutes | Increase resistance (use weights or a pack) for strength exercises. Add unilateral work (step ups, split squats). | Add 5 pounds to your pack for one long walk. Practice navigating uneven surfaces like grass or gravel. |
| Week 3 | Specificity | Focus on back to back training days (e.g., a long walk Saturday and a shorter hill climb Sunday) to simulate multi day hiking fatigue. | Increase sets and repetitions in strength training. Perform all lower body workouts while wearing your pack. | The Shakedown Hike: Complete a 2–3 hour hike with your full, intended pack weight. This is non negotiable for trail preparation. |
| Week 4 | Tapering & Rest | Reduce all training volume by 50–70%. Replace intervals with flat, consistent pace walks (30–45 mins). | Maintain light core work and deep stretching/mobility only. Stop heavy lifting completely. | Focus on hydration, quality sleep, and fueling your body. Polish your gear and prepare your pack. |
The most important takeaway from this section is the tapering process in the final week. Many hikers make the mistake of overtraining right up until the day before the trip. Your muscles need time to heal, recover, and store energy (glycogen). Reducing the intensity allows your body to consolidate the gains you’ve made, ensuring you arrive at the trailhead feeling fresh, strong, and injury free.
Recommended Gear for Trail-Ready Hiking Training
The right equipment doesn’t just make your workouts more effective, it makes them safer and more specific to the demands of hiking. Here are the key categories worth investing in as you build your fitness for the trail.
Training & Rucking Pack — A dedicated daypack or training hiking backpack lets you practice loaded walking (rucking) safely and comfortably. Look for one with padded hip belt support, adjustable straps, and at least 45–60L of capacity. This is your single most important training tool.
Trekking Poles — Don’t wait until the trailhead to use these. Training with poles improves your balance, reduces knee impact on downhills by up to 25%, and engages your upper body. Lightweight, collapsible aluminium or carbon fibre options are ideal.
Special read: 7 Best Trekking Poles for Rocky Terrain in 2026: Top Picks for Adventurers
Resistance Bands — Perfect for the mobility and stability work outlined in this guide. Use them for hip abductor exercises, banded squats, and ankle activation drills. Compact, affordable, and highly versatile.
Adjustable Dumbbells or a Kettlebell — For the strength training pillars covered above (goblet squats, Romanian deadlifts, farmer’s carries, single-leg work). A single adjustable set replaces an entire rack of weights.
Foam Roller & Massage Ball — Recovery is training. Rolling out your calves, IT band, and hip flexors after long walks accelerates muscle repair and reduces soreness heading into your next session.
Hiking Boots (Break-In Pair) — As the article emphasises, your hiking boots must be broken in before your trip. Buy your intended trail boot at least 4–6 weeks out and do every long training walk in them.
Exciting read: 8 Best Trail Running Shoes for Rocky Terrain in 2026: Top Picks for Every Runner
Hydration Pack or Water Reservoir — Train with the same hydration system you’ll use on the trail. It normalises the weight and feel of carrying water, and helps you dial in your fluid consumption habits before the big day.
Fitness Tracker or GPS Watch — Track your heart rate zones (especially Zone 2 for cardio training), elevation gain, distance, and session duration. This turns your training walks into measurable data, not guesswork.
Explore more on 10 Best Hiking Gear Under $200 for Smart, Budget-Focused Adventurers
Essential Ancillary Hiking Training (Optimizing Performance)
Training your muscles and your cardiovascular system is essential, but a great hiker knows that true trail mastery involves more than just physical strength. It’s also about preparing your gear, fueling your body, and tuning your mind. These are the ancillary details that distinguish a successful, comfortable hike from an exhausting sufferfest.
Training with Your Pack and Boots: The Integration Factor
Hiking is unique because you don’t just use your body; you use your gear. Failing to integrate your equipment into your preparation is one of the biggest mistakes a beginner can make.
- The Pack Drill: Don’t wait until the trailhead to discover your pack rides awkwardly or causes shoulder rub. Start using your backpack loaded with weight during your training walks (known as rucking). Begin with light loads and, following the principle of progressive overload, gradually work up to carrying your projected trail weight. This helps your core, shoulders, and lower back adapt to the specific pressures of carrying a load for hours on end, which is crucial for how to train for hiking effectively.
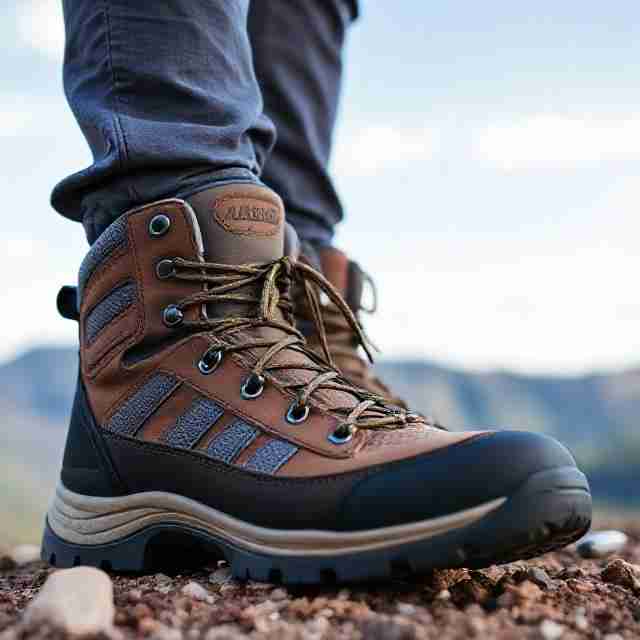
- Boots and Foot Care: Your hiking boots are like your feet’s personal shock absorbers and stabilizers. They must be broken in before your big trip. Do all of your long training walks in the actual boots you plan to wear. This process molds the boot to your foot, dramatically reducing the risk of blisters, the single most common reason a hike is cut short. For long efforts, experiment with different sock combinations and anti friction balms to find what works best for your unique feet.
Nutrition, Hydration, and Fueling Your Engine

You wouldn’t run a car on an empty tank, and the same goes for your body on a long trail. Your training period is the perfect time to perfect your nutrition strategy.
- Hydration Practice: Learn how much water you realistically need on a long training walk. Practice using your water filter or hydration reservoir. On the trail, if you wait until you feel thirsty, you’re already dehydrated. Consistent, small sips are key.
- Trail Fuel Experimentation: Hiking requires a steady supply of complex carbohydrates and healthy fats for sustained energy. Use your long training days to test out different food sources. Do your digestive system and energy levels respond better to trail mix, energy bars, dried fruit, or jerky? Don’t introduce anything new on your actual hike; stick to the fuels you know your body can process efficiently under stress.
Mental Fortitude: The Power of Mindset
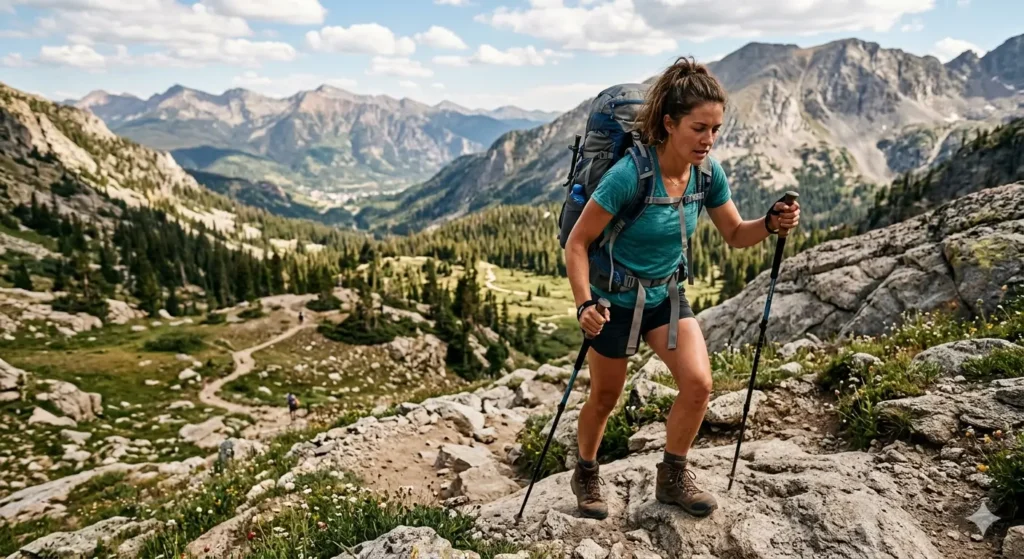
Miles become much easier when your mind is strong. Training for hiking is as much about building mental toughness as it is about building physical strength.
- Embrace the “Suck”: Let’s be honest, not every minute of a hike is glorious. There will be sweat, discomfort, and moments where you question your life choices. Use your tough training sessions, the ones where you’re tired and facing a headwind, to practice positive self talk and distraction techniques. Acknowledging the discomfort without letting it derail you is a vital skill.
- Visualization: Spend time visualizing the hike. See yourself crushing that steep switchback, gracefully stepping over boulders, and feeling strong at the finish. This simple technique, used by elite athletes, mentally prepares your body for the task ahead and boosts confidence.
Tailoring the Plan to Your Hike (Advanced Considerations)
A training plan for a flat, five mile day hike is vastly different from one required for a multi day trek with thousands of feet of elevation gain. The true expert knows how to customize their preparation based on the specific demands of their adventure.
Day Hikes vs. Multi Day Treks
- Day Hikes: For shorter trips (less than 8 hours), you can focus more on intensity and power. You need the ability to climb steep sections quickly, but you don’t need to sustain that effort for multiple consecutive days. Interval training (alternating high intensity bursts with recovery periods) is highly beneficial here.
- Multi Day Treks (Backpacking): This is all about longevity and recovery. Your training must include back to back long days (e.g., a 4 hour hike on Saturday followed by a 3 hour hike on Sunday) [3.2]. This teaches your body how to perform when fatigued and how to recover overnight. Pack weight training is paramount, as is the ability to maintain strong posture under a heavier load for consecutive days.
Altitude Acclimatization
If your destination involves significant altitude (typically above 8,000 feet), your training needs a specialized focus.
- Efficiency: At high altitude, the air is thinner, meaning less oxygen with every breath. Training for high altitude focuses on aerobic efficiency, improving your body’s ability to use oxygen. While you can’t truly acclimatize at sea level, maximizing your cardio fitness through steady state, Zone 2 training will give you the largest oxygen reserve possible, making the adjustment easier once you arrive.
- Pace Management: During your actual high altitude hike, the rule is to go slowly. A strong training base ensures you can maintain a deliberately slow, steady pace without quickly spiking your heart rate.
Common Training Mistakes to Avoid
As you ramp up your preparation, be mindful of these common pitfalls:
- Ignoring Rest Days: Muscle growth and adaptation happen during rest. Skipping recovery days leads to fatigue, burnout, and higher injury risk. Rest is an active part of how to train for hiking.
- Only Training on Flat Surfaces: If your hike has hills, your training must have hills. If your hike has uneven terrain, get off the treadmill and onto the trails. Specificity of training matters!
- Ignoring Pain: Distinguish between muscle fatigue (good) and joint pain (bad). If you feel sharp, recurring pain, especially in your knees, shins, or ankles, stop and rest. Consult a professional if the pain persists.
Conclusion: Ready for the Trail
So, there you have it: the full blueprint for transforming your body into a trail ready machine. Mastering how to train for hiking is less about adopting a complicated gym routine and more about embracing consistency across four simple, yet powerful, pillars:
- Cardio: Building the engine for relentless endurance.
- Strength: Fortifying the chassis for steep ascents and load carrying.
- Mobility: Fine tuning the suspension to prevent injury and navigate tricky ground.
- Integration: Making sure your gear, nutrition, and mindset work seamlessly with your body.
The best part of this journey is that the training itself becomes part of the adventure. Every step up a local hill, every heavy squat, and every mindful stretch is an investment in your future self, the one who will be standing confidently on that mountain summit, feeling strong and fully present to enjoy the view. You’ve done the preparation; now go enjoy the magic.
Fact Sheet: Key Training Metrics for Hikers
This data sheet synthesizes the critical physical goals every hiker should aim for, providing measurable targets for your training plan.
| Fitness Pillar | Target Metric | Specific Hiking Benefit | Sample Progression Goal (4-6 Weeks) |
| Cardiovascular | Longest Continuous Effort (Time) | Hiking Endurance; sustaining energy for long mileage. | Progress from 60 minutes (Week 1) to 180+ minutes (Week 3). |
| Lower Body Strength | Unilateral Repetitions (Step Ups/Lunges) | Climbing Power and single leg stability on rough terrain. | Achieve 3 sets of 15–20 repetitions per leg with added pack weight. |
| Core Stability | Plank Hold Duration (Seconds) | Posture Control; preventing lower back fatigue from pack carrying. | Sustain a perfect forearm or high plank for 90 seconds. |
| Specificity | Loaded Mileage (Rucking) | Trail Readiness; body’s adaptation to walking with a pack and boots. | Complete a 5 mile walk with your full trail weight pack (15–25 lbs). |
| Mobility | Hip Flexor & Calf Flexibility | Injury Prevention; better range of motion and reduced joint strain. | Hold key stretches (e.g., kneeling hip flexor stretch) for 30 seconds per side. |
Ready to get started? Which part of your training, cardio, strength, or flexibility, feels like the biggest challenge right now, and would you like me to suggest a specific starting drill?
To see more exciting hiking tips, explore our homepage.